

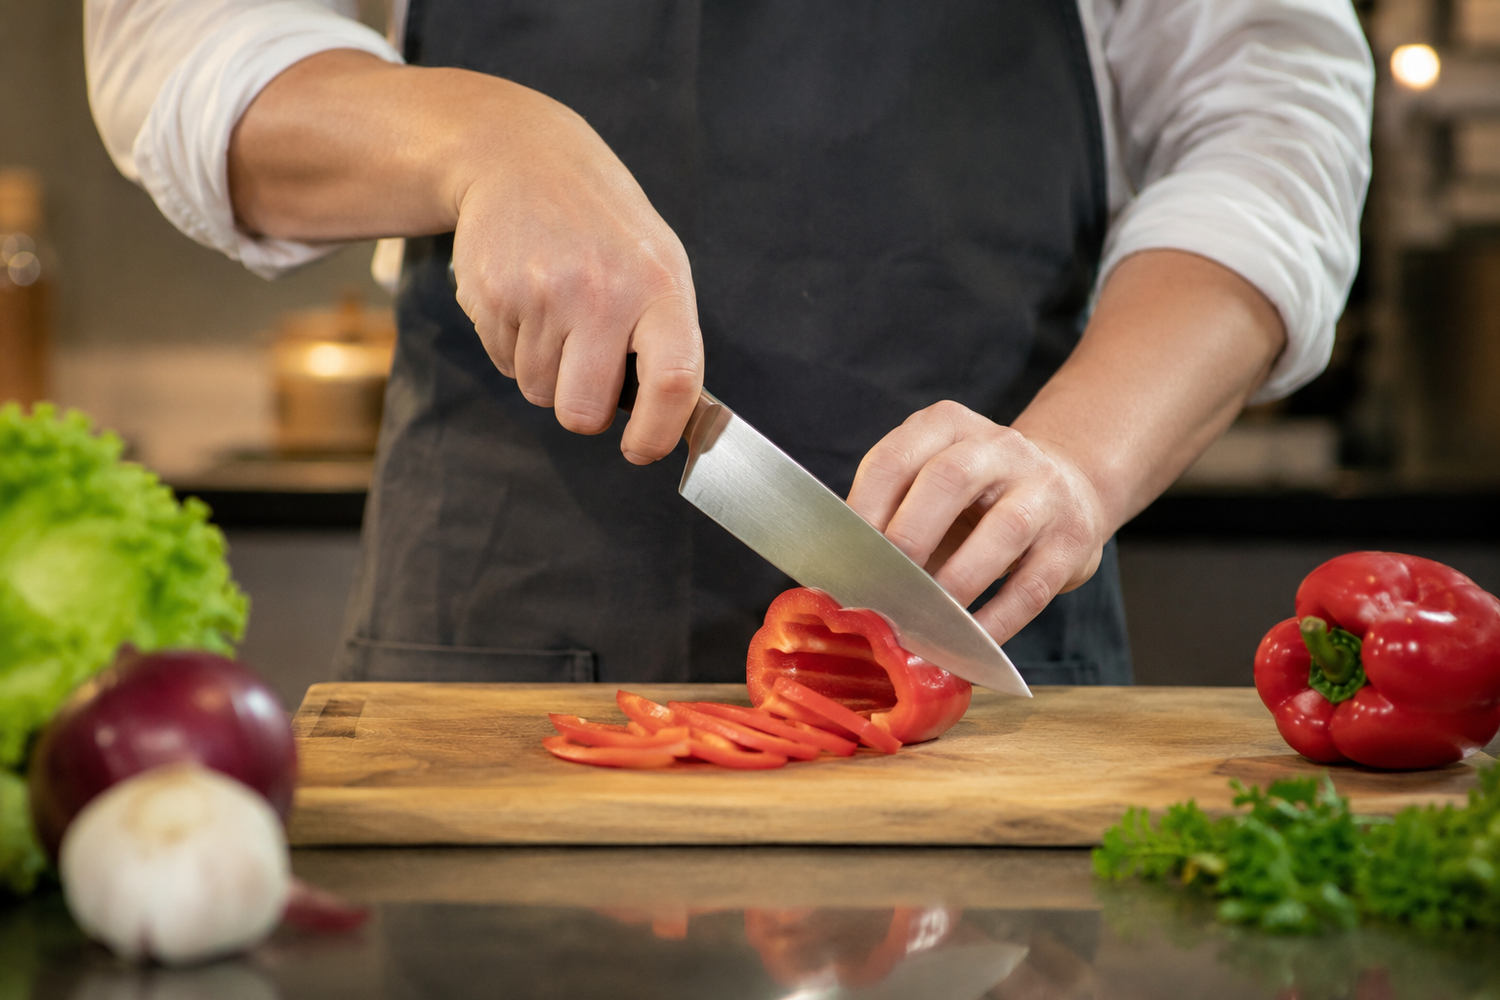
Mastering cutting in the kitchen primarily depends on posture and hand positioning. A good grip ensures user safety, reduces muscle fatigue, and provides optimal precision when preparing food.
Key points of the article
- The pinch grip offers maximum blade control and reduces the risk of slipping.
- The guiding hand plays an essential role in holding with the "claw" technique.
- Adapting the utensil hold based on the ingredient and task improves precision.
Why grip is essential
A correct utensil hold distributes physical effort across the entire arm and shoulder rather than just stressing the wrist. This avoids tension and allows you to work for long periods without excessive fatigue. Mastery of the gesture is the hallmark of great chefs.
According to the technical encyclopedia on materials, the balance and weight distribution between the blade and the handle directly influence the precision of movement. To deepen your knowledge of alloy composition and their resistance, you can consult the definition of stainless steel on the Wikipedia page on stainless steel.
Comparison of cutting techniques
| Holding technique | Control level | Recommended use |
|---|---|---|
| Pinch grip | Optimal | Precise cutting, slicing, chopping |
| Blade spine grip | Medium | Light pressure on soft ingredients |
| Hammer grip | Low | Not recommended for precision and safety |
The basic grip: the "pinch grip"
The pinch grip is the standard method taught in culinary schools and practiced by professionals. It ensures a solid connection between the hand and the tool, transforming the knife into a natural extension of the arm.
Where to place your fingers
- Place your thumb and index finger on either side of the blade, just in front of the handle, at the bolster.
- Wrap the remaining three fingers (middle, ring, and pinky) around the handle, without gripping too tightly.
- Ensure your index finger is firmly pressed against the side of the blade to stabilize the movement.
What you should absolutely not do
Never hold the knife by placing your index finger on the spine of the blade. This position significantly reduces lateral control and increases the risk of the tool tipping when cutting resistant ingredients.
Different grips depending on use
The technique must be adapted to the type of blade used and the texture of the ingredients you need to prepare.
For peeling (paring knife)
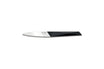
For a paring knife, the grip should be close to the blade for precise control. The thumb is often positioned on the fruit or vegetable to guide the peeling motion, while the other fingers ensure the knife's stability.
For slicing (chef's knife)
The pinch grip is essential here. The rocking motion requires perfect balance control. You can find advice on learning these movements in our dedicated guide which knife to start with in the kitchen.
For cutting meat
For large cuts, a firmer grip on the handle is necessary to apply consistent pressure when slicing muscle fibers.
Excellence and precision of blades
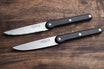
For tasks requiring extreme precision, using high-quality blades allows for a professional level of finish. Explore our range of premium knives on the Excellence collection page.
The most common mistakes
A poor grip is often the main cause of accidents and cutting difficulties. Identifying these errors allows for quick posture correction.
Holding the handle like a hammer
Clutching the handle with all fingers without using the blade as a fulcrum makes the movement heavy and imprecise. This fatigues the wrist and reduces working speed.
Placing the index finger on the spine of the blade
This habit is often adopted to apply extra force, but it unbalances the tool and eliminates lateral control, increasing the risk of slipping.
Incorrect position of the guiding hand
A guiding hand placed too close to the cutting edge or flat on the food exposes fingers to accidental cuts.
| Observed error | Consequence | Recommended correction |
|---|---|---|
| Hammer grip | Loss of precision and wrist fatigue | Use the pinch grip |
| Index on the spine | Blade imbalance | Place the index finger on the side of the blade |
| Flat guiding hand | Risk of cutting knuckles | Adopt the claw technique |
How to position the other hand (guiding hand)
The hand not holding the knife is responsible for keeping the ingredient stable on the cutting board. Its positioning is crucial to avoid any contact with the cutting edge.
The "claw" technique
To perform this technique, curl your fingertips inward to form a claw. The flat part of your knuckles then serves as a fulcrum for the blade, preventing your fingers from being in the path of the cutting edge.
Safety and control
The thumb of the guiding hand should be placed behind the other fingers, out of reach of the blade. This posture ensures maximum safety during rapid cuts.
Frequently Asked Questions
Why is it important not to hold the knife like a hammer?
Holding the knife like a hammer reduces control over the blade and quickly fatigues the wrist. The pinch grip offers perfect balance to guide the knife safely.
How to safely learn the claw technique?
Start slowly by resting your knuckles against the side of the blade. Practice with firm ingredients like potatoes or carrots to memorize the position well.
Should you grip the knife handle very tightly?
No, too firm a grip leads to muscle tension in the arm and reduces precision. The knife should be held firmly but flexibly to allow the blade to follow its natural movement.
Glossary
Cutting edge: The sharpened part of the blade that penetrates the food to ensure a clean and even cut.
Edge: The microscopic ridge of the knife that undergoes mechanical stress and ensures cutting precision.
Micro-fractures: Small alterations invisible to the naked eye that can appear during impacts on hard materials.